Run Your First Wingtip Session
Start a Wingtip session in Threo chat - set your role, pick a data source, connectors, and skills, describe the job, and get your first working deliverable.
What you’ll accomplish
Section titled “What you’ll accomplish”By the end of this page you’ll have started a Wingtip session, watched it plan and do the work, and received your first deliverable - a dashboard, document, or file you can download.
What you’ll need
Section titled “What you’ll need”- Access to ThreoAI with Wingtip enabled for your organization (you’ll see Wingtip (Preview) in the left navigation - if not, see Availability)
- Something to work on: a file to attach, a connected data source, or just a goal you can describe
1. Open Wingtip
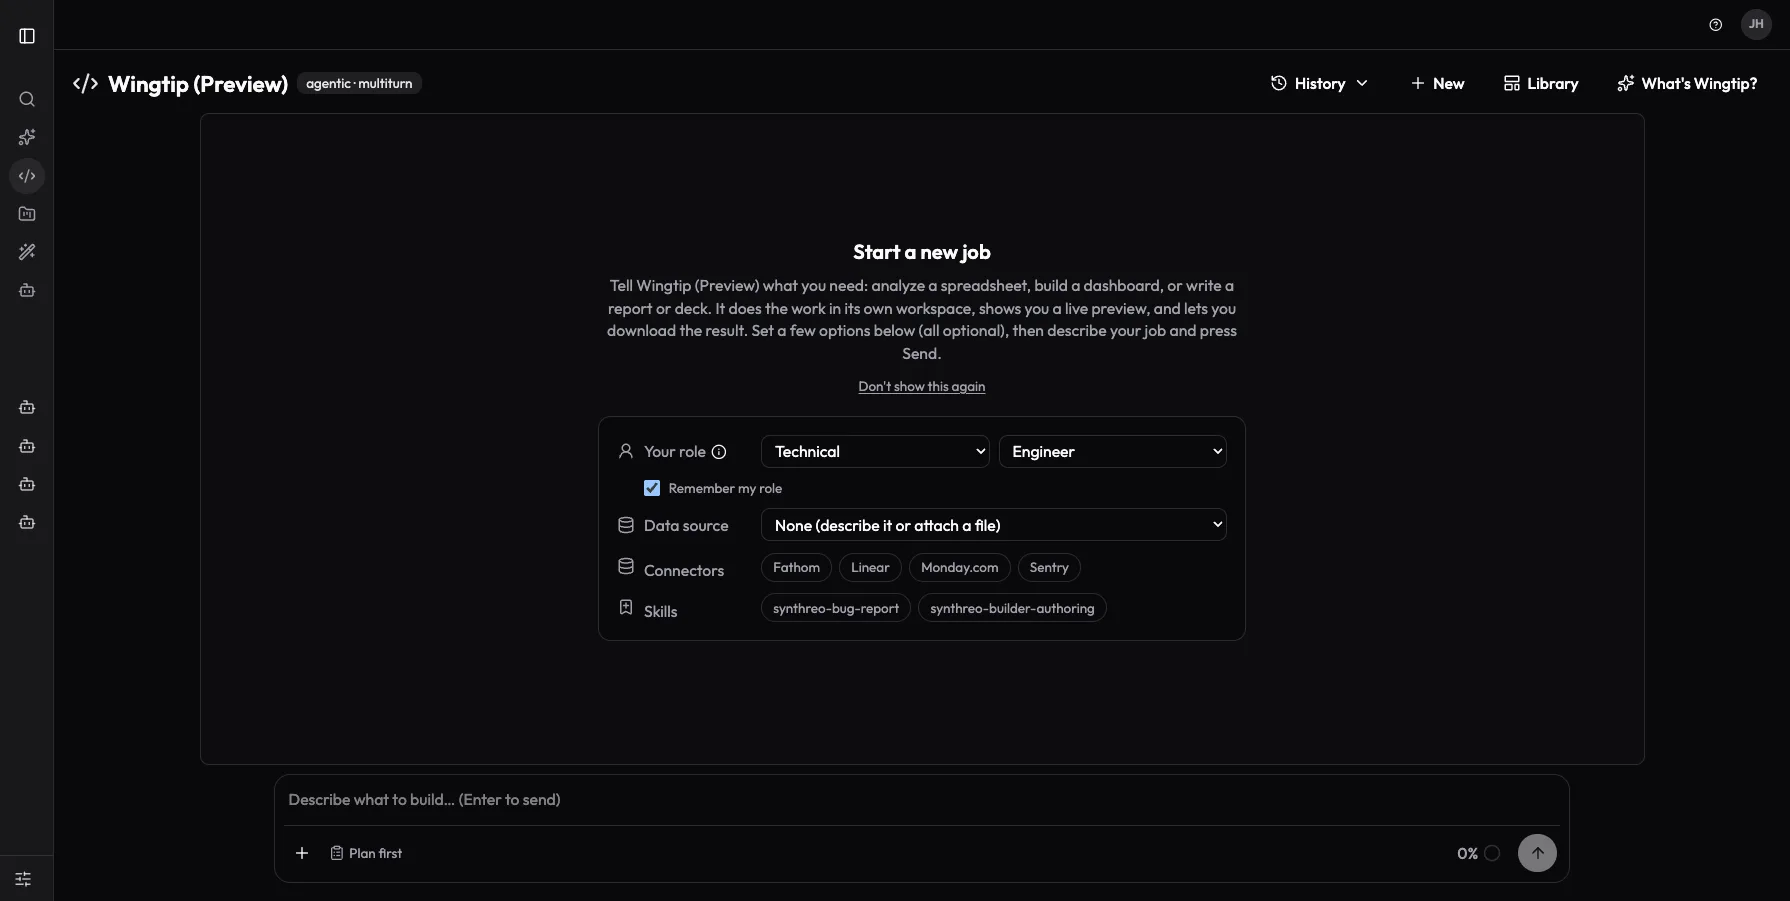
Section titled “1. Open Wingtip”Select Wingtip (Preview) in the left navigation. You’ll see the Start a new job screen: a short intro, a set of optional dropdowns, and a message box at the bottom.
2. Set options - every one is optional
Section titled “2. Set options - every one is optional”You can skip all of this and just type. Each option tunes the session you’re about to start:
| Option | What it does |
|---|---|
| Your role | Pick Technical or Non-technical, then a specific role (for example Engineer, General business, Accounting / finance). Technical roles get an interactive on-screen canvas; non-technical roles get a downloadable document. Check Remember my role to make it your default. |
| Start from | Begin from Blank or a saved dashboard template (presets are marked (preset)). |
| Data source | Leave None (describe it or attach a file), or choose an existing Agent or connected source. Once you choose one, a + blend… selector lets you join a second source. |
| Connectors | Toggle the external apps this session may reach. See Connectors. |
| Skills | Toggle the skill packs this session should know. See ThreoAI Skills. |
These choices are read once when the session starts - you can’t change them mid-session, but you can always steer with a reply, or start a New session.
3. Describe the job
Section titled “3. Describe the job”Type what you need in the composer - the placeholder suggests the shape: “e.g. build a dashboard from this data”. Be concrete about the outcome: what it’s for, who reads it, what it should include. Attach files with the + button.
4. Decide how much control you want
Section titled “4. Decide how much control you want”The Plan first toggle sits on the left of the composer. Turn it on and Wingtip drafts a plan and waits for your Approve & build before doing anything. Leave it off and Wingtip plans and builds in one motion, still pausing for approval on sensitive actions.
5. Send it
Section titled “5. Send it”Press Enter. You’ll see the session title appear in the top bar (rename it inline any time), a Plan card tracking steps as they complete, a terminal card folding up the work as it runs, and a working… indicator while Wingtip is busy.
When the turn finishes you’ll have your first result: an on-screen dashboard with a live preview, an editable document, or files you can download. If it’s not right, just reply - “make the chart monthly”, “add a summary page” - and Wingtip iterates in the same workspace.
If it didn’t work
Section titled “If it didn’t work”- No Wingtip tab. Your organization doesn’t have the Preview enabled - ask your administrator or MSP.
- “Couldn’t load roles right now - showing No preference.” The role list didn’t load; the session still works. Try again later or proceed without a role.
- The connection dropped mid-run. You may see: “Your work is still running in the background - reload to see the latest.” Reload the page; the session picks up where it left off.
- Upload rejected. Session uploads are limited to 50 MB per file.
Next steps
Section titled “Next steps”- Steer a running session - approvals, plan changes, and queued replies
- Download, share, and reuse results