

Connectors in ThreoAI
Connectors bring external apps into ThreoAI chat over MCP. Add one from the Studio catalog or point at your own MCP server, then set what each tool may do.
Overview
Section titled “Overview”Connectors bring external apps and data into your chat. Connect something like a code host, a chat workspace, or a file drive, and the AI can search it, read from it, and take actions in it while you talk to it.
Connectors run over MCP (Model Context Protocol), an open standard for linking AI to outside tools. You do not need to know anything about MCP to use them: you connect an app, sign in if it asks, and it is ready.
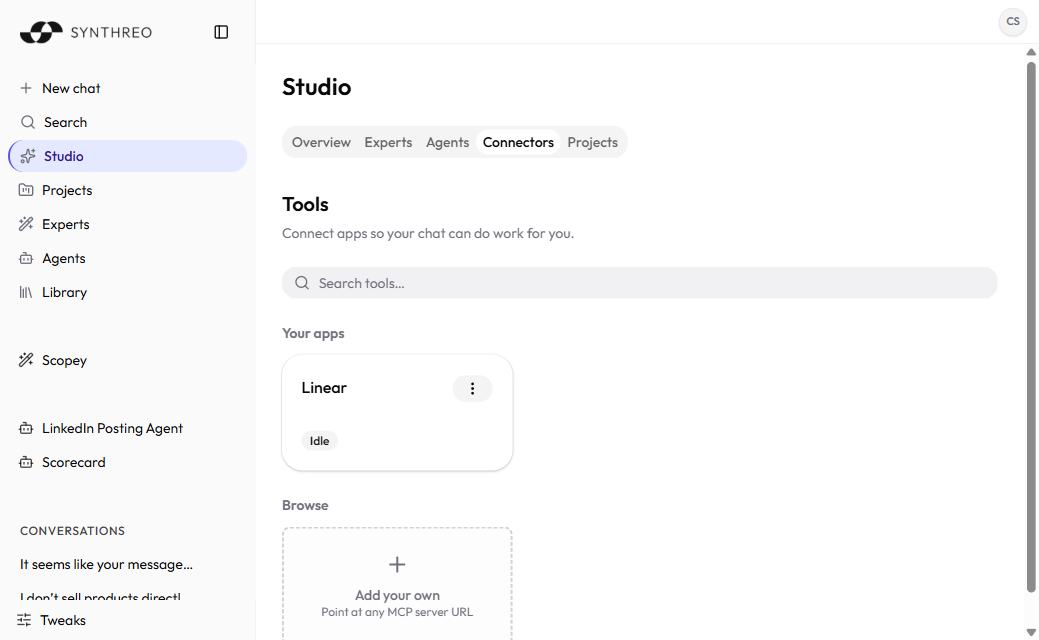
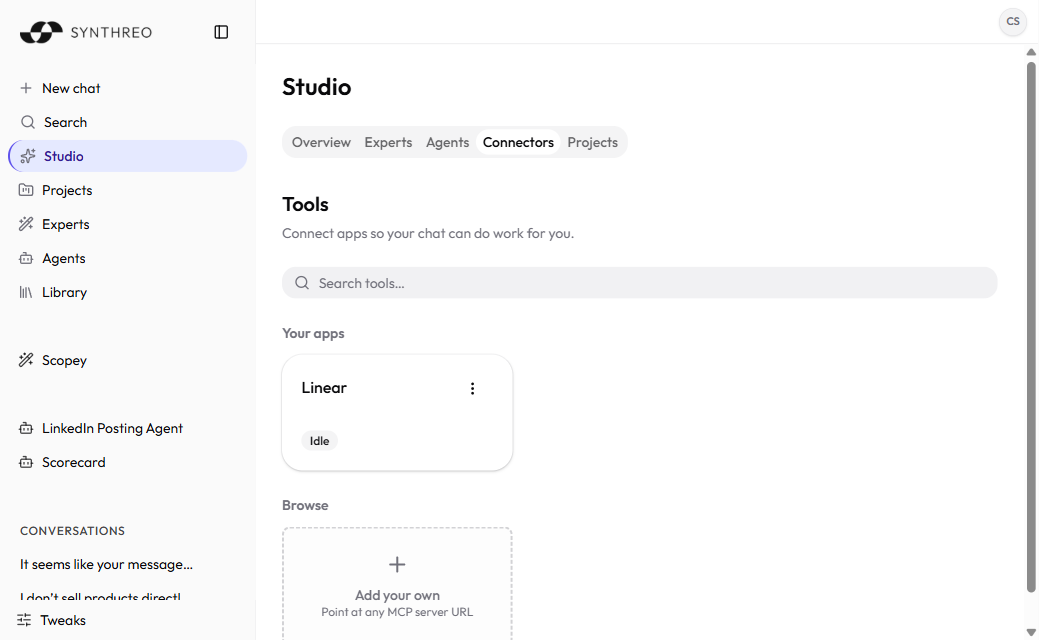
You manage Connectors in Studio. Open Studio from the left sidebar, select the Capabilities tab, then the Connectors sub-tab. One label to know: the sub-tab is called Connectors, but the interface calls the connected items tools throughout, from the “Search tools” box to the “Tool turned on” confirmation. They are the same thing.
Connectors are enabled per organization. If Studio has no Capabilities tab at all, neither Connectors nor Skills is turned on for your company yet; if Capabilities shows only a Skills sub-tab, Connectors specifically is off. Ask your administrator.
How the page is laid out
Section titled “How the page is laid out”Across the top: a search box, an Add your own button, and an Add connection button.
Below that is a list on the left and a detail pane on the right. The list holds your connectors; select one and the detail pane shows its status, its actions, and what each of its tools is allowed to do. Before you select anything the pane reads “Select a connector to manage it.”
If your organization has turned custom connectors off, the Add your own button is replaced by a note: “Custom connectors are off. Ask your administrator to enable them.”
Add a connection from the catalog
Section titled “Add a connection from the catalog”Add connection opens the Add a connection dialog: “Connect an app so your chat can use its tools.”
The dialog is a searchable catalog of ready-made connectors. It opens as a list, with a toggle for a card view, and it remembers which view you chose. Two dropdown filters narrow it down: one by category and one by authentication type. Each filter appears only when the results actually vary along that axis.
Find the app you want and select Connect. What happens next depends on the app:
- an app that signs you in sends you to that provider’s sign-in page, and you land back here connected;
- an app that takes a key or other credentials opens a form for them;
- an app that is specific to your instance of a vendor asks for the values it needs first, such as your tenant’s host.
Add your own
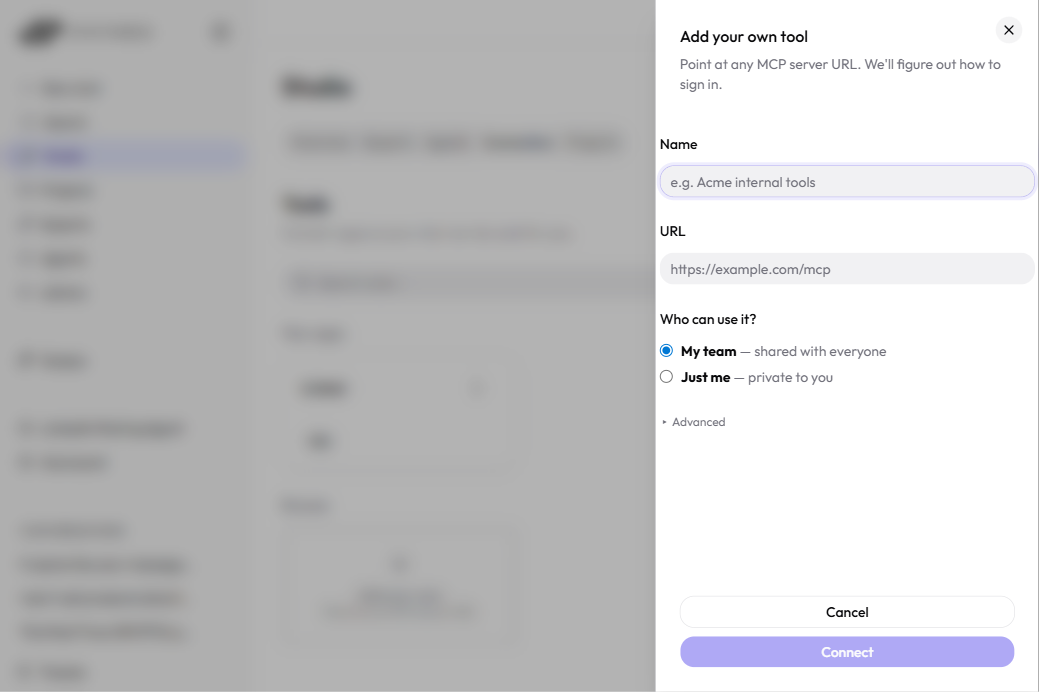
Section titled “Add your own”If the app you need is not in the catalog, select Add your own. It opens Add a tool, a short two-step form.
- Name - “What you’ll call this tool in your chat.”
- Address - the MCP server URL, for example
https://example.com/mcp. The field notes: “Only you will use this tool.” Custom connectors you add this way are personal to you; there is no team-visibility choice. - Optionally open Advanced:
- Authentication - Auto-detect (recommended), Bearer token, or API key in a header. Most servers are detected automatically. Choosing the API-key option adds a Header name field, which defaults to
Authorization. - Custom headers (JSON) - extra headers as a JSON object of strings, such as
{"X-Tenant": "acme"}. - I have a pre-issued sign-in (OAuth) client - for servers that do not register themselves. Ticking it reveals the sign-in URL, token URL, client ID, client secret, and token endpoint auth method.
- Authentication - Auto-detect (recommended), Bearer token, or API key in a header. Most servers are detected automatically. Choosing the API-key option adds a Header name field, which defaults to
- Select Continue. ThreoAI checks the server, then the button becomes Add tool, or Sign in & add when the server wants you to sign in.
Choose what each tool may do
Section titled “Choose what each tool may do”Select a connector and its detail pane lists the tools it exposes, grouped by app area (mail, calendar, files, and so on). Areas start collapsed with a count badge, because a large connector can ship a hundred tools.
Every tool, and every area as a whole, carries the same three-state control:
| Setting | What it does |
|---|---|
| Run freely | Run without asking. |
| Ask first | Require approval each time. During a run the agent pauses so you can approve or deny. |
| Off | Hide from the agent entirely. |
Setting an area sets every tool in it at once. A dimmed icon is the setting already in force, decided somewhere other than by you: click it to make it your own explicit choice. Click your own highlighted choice again to clear it and fall back to what applies otherwise.
A good default is to leave anything that changes data on Ask first.
Managing a connector
Section titled “Managing a connector”Each connector’s detail pane has an overflow menu holding, depending on the connector:
- Sign in again - reauthorize an app that signs you in. Also offered as a prominent button when the connector is in a state that needs it.
- Update credentials - replace a stored key or credential set.
- Turn on / Turn off - stop chat using a connector without deleting it. Turning off is confirmed with “Your chat won’t be able to use it until you turn it back on.”
- Remove - delete it. The confirmation states what will happen: either “This removes the connection and deletes its sign-in across your Synthreo products” or “This removes the exact connection from your Chat list. Its shared sign-in is not deleted.”
Removal can be refused. If something still uses the connector - a live agent, DAG, or trigger - ThreoAI says so and names where to detach it first.
Connector status
Section titled “Connector status”Each connector shows a status so you know whether it is ready. The common ones:
| Status | What it means | What to do |
|---|---|---|
| Connected | Working and ready for chat. | Nothing. |
| Sign in needed | It has not been authorized yet. | Finish the sign-in. |
| API key needed / Credentials needed | It is waiting on a key or credential set. | Supply them from the detail pane. |
| Revoked / Disconnected | The stored sign-in no longer works. | Sign in again to reconnect it. |
| Couldn’t connect | The server did not answer. | Check the address, then try again. |
| Turned off / Disabled | Switched off, by you or by an administrator. | Turn on if you switched it off. An administrator-level block cannot be reversed from here. |
| Not connected yet | A catalog app you have not added. | Select Connect. |
Where a connector was disabled centrally, the detail pane says so rather than offering a Turn on you cannot use.
Personal and company-wide connectors
Section titled “Personal and company-wide connectors”A connector can be personal to you or shared at the company level. Anything you add through Add your own is personal by design. Catalog connections can be installed for a whole company by an administrator so a team shares the same apps, in which case removing it from your own list does not delete the shared sign-in.
Either way, what a tool may do is your call, through the three-state controls in the detail pane.
Connectors and Expert actions
Section titled “Connectors and Expert actions”A connected app is available in plain chat: ask a question and the AI reaches into the app when it helps.
Expert actions are a different feature. They live on the Tools tab of the Expert editor, are backed by Pylon Agents, and are configured per Expert. They do not go through the Connectors surface. See Creating an Expert.
Frequently Asked Questions
Section titled “Frequently Asked Questions”What is a Connector? A Connector links an external app or data source to your chat over MCP, so the AI can search it, read from it, or act in it for you.
What does “Sign in needed” mean? The connector has not been authorized yet. Select it in the list and finish the provider’s sign-in; for one that has gone stale, use Sign in again.
Can I stop a connector from acting on its own? Yes. In its detail pane, set a tool to Ask first so it needs your approval every time, or Off so the agent cannot see it at all. You can set a whole app area in one click.
Where is the Connectors tab? Inside Capabilities. Open Studio, select Capabilities, then Connectors. If Capabilities is missing entirely, neither Connectors nor Skills is enabled for your organization.
Can I add an app that isn’t in the catalog? Yes. Use Add your own, give it a name and its MCP server address, then Continue and Add tool. Connectors you add this way are personal to you.
Related
Section titled “Related”- Studio Overview - the hub where Experts, Agents, Capabilities, Projects, and Aliases live
- Skills in ThreoAI - the other half of Capabilities: know-how the model loads automatically
- Creating an Expert - build an Expert, including its Pylon-backed actions
- Pylon Overview - build the Agents behind Expert actions